

ΑΝ ΣΑΣ ΕΧΟΥΝ ΜΕΙΝΕΙ ΜΕΡΙΚΕΣ ΚΑΣΕΤΕΣ ΚΑΙ ΔΕΝ ΤΙΣΧΡΕΙΑΖΕΣΤΕ ΦΤΙΑΞΤΕ ΤΙΣ ΕΝΑ ΠΑΝΕΜΟΡΦΟ ΚΑΙ ΞΕΧΩΡΙΣΤΟ ΦΩΤΙΣΤΙΚΟ.ΔΕΙΤΕ ΠΑΡΑΚΑΤΩ ΤΗΝ ΚΑΤΑΣΚΕΥΗ...
However as we looked for instruction on how to make it, every blog or such had a similar picture and this link.
http://www.transparenthouse.com/main/#/en/0/6/
As you can see they do not give DIY instruction on how to create this awesome lamp. So we set out to do it.
Here is what you need.

22 cassette tapes (you might need more)
Strong Glue
Hot Glue (not pictured)
Eye glass repair screw driver (not pictured)
Needle nose pliers ( not pictured)
Old wire clothes hanger (not pictured)
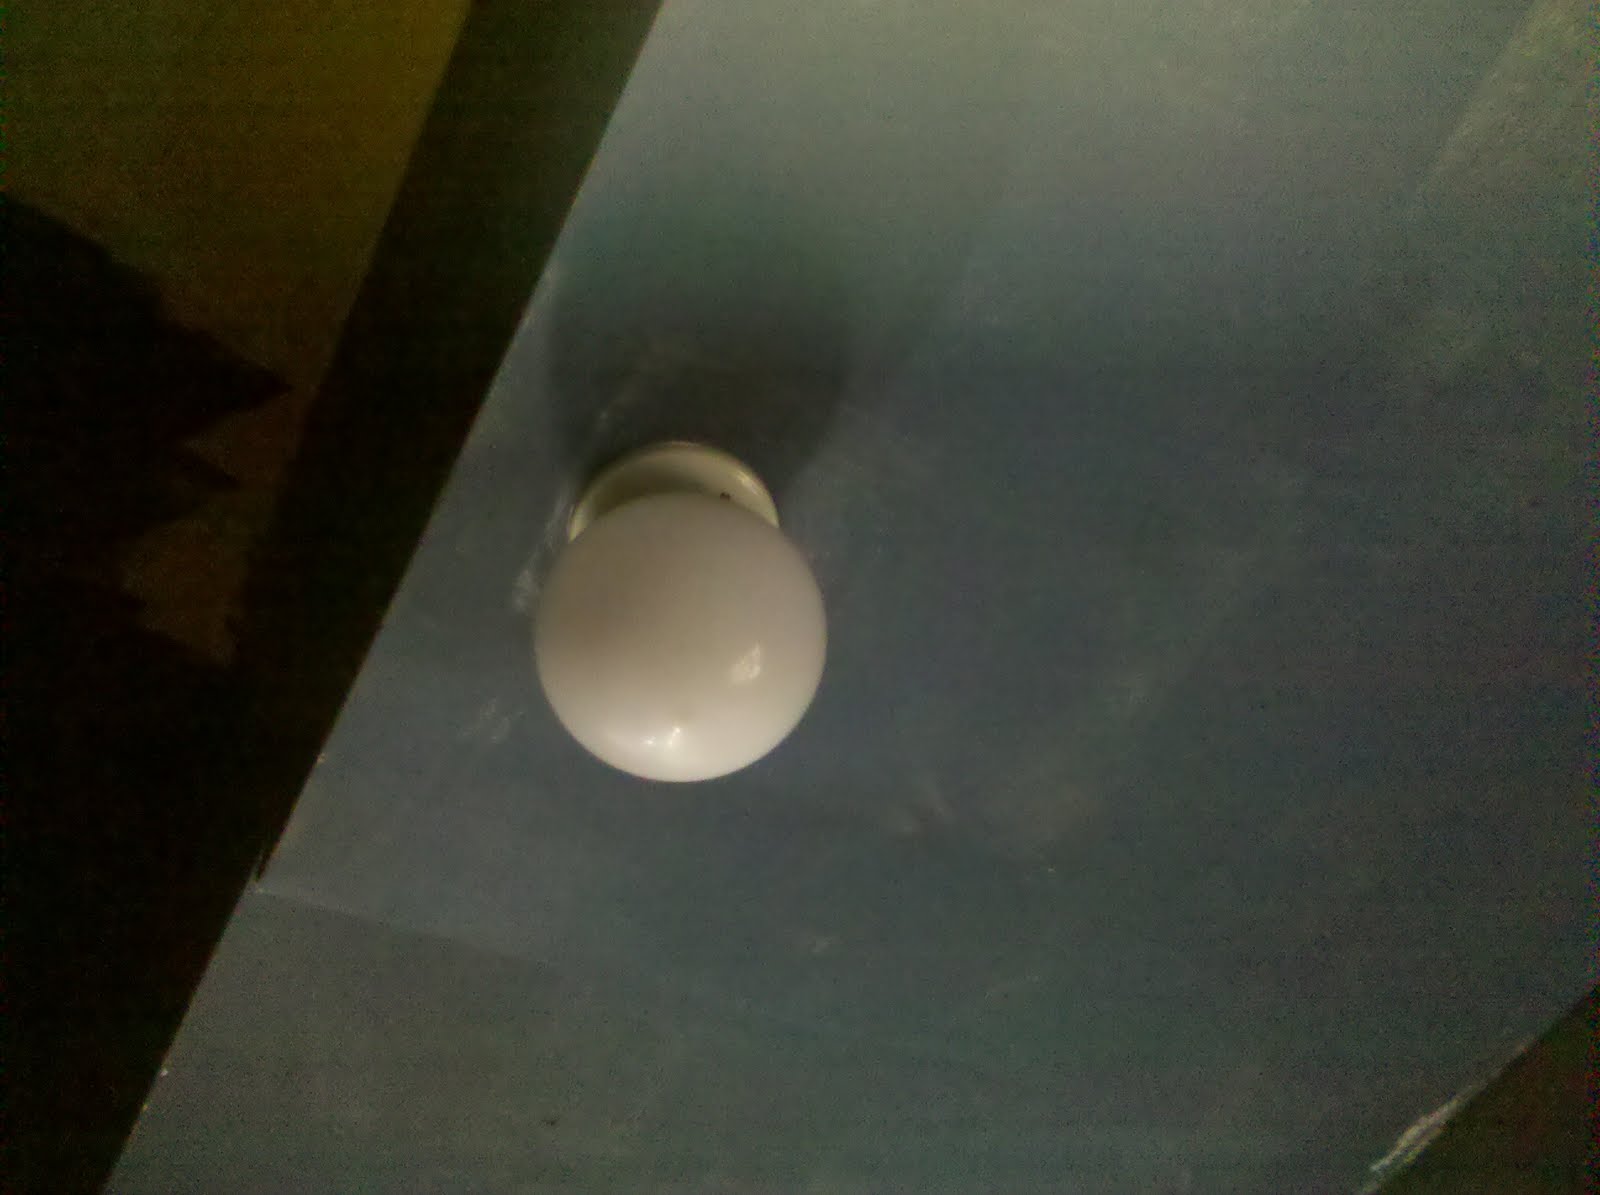
First things, this is the light we are replacing. It is in the entry way of our house and as you can see it is normal and boring.
We used 22 cassette tapes for this project. Between both of us we had 10 cassette tapes and only 5 were clear. So we went to a second hand store and bought the rest. We also looked for tapes that had screws in them to make opening them up easier. You can do it with cassettes that don't have screws, just take your time opening them, they will crack and split very easily.
(A bit of a side note here. We recommend you double check on eBay or amazon or where ever and make sure that the tapes you have collected are not selling for a lot of money. The last thing you want to do is glue a couple tapes together that could help pay for your child's college!! Just double check before you start!)
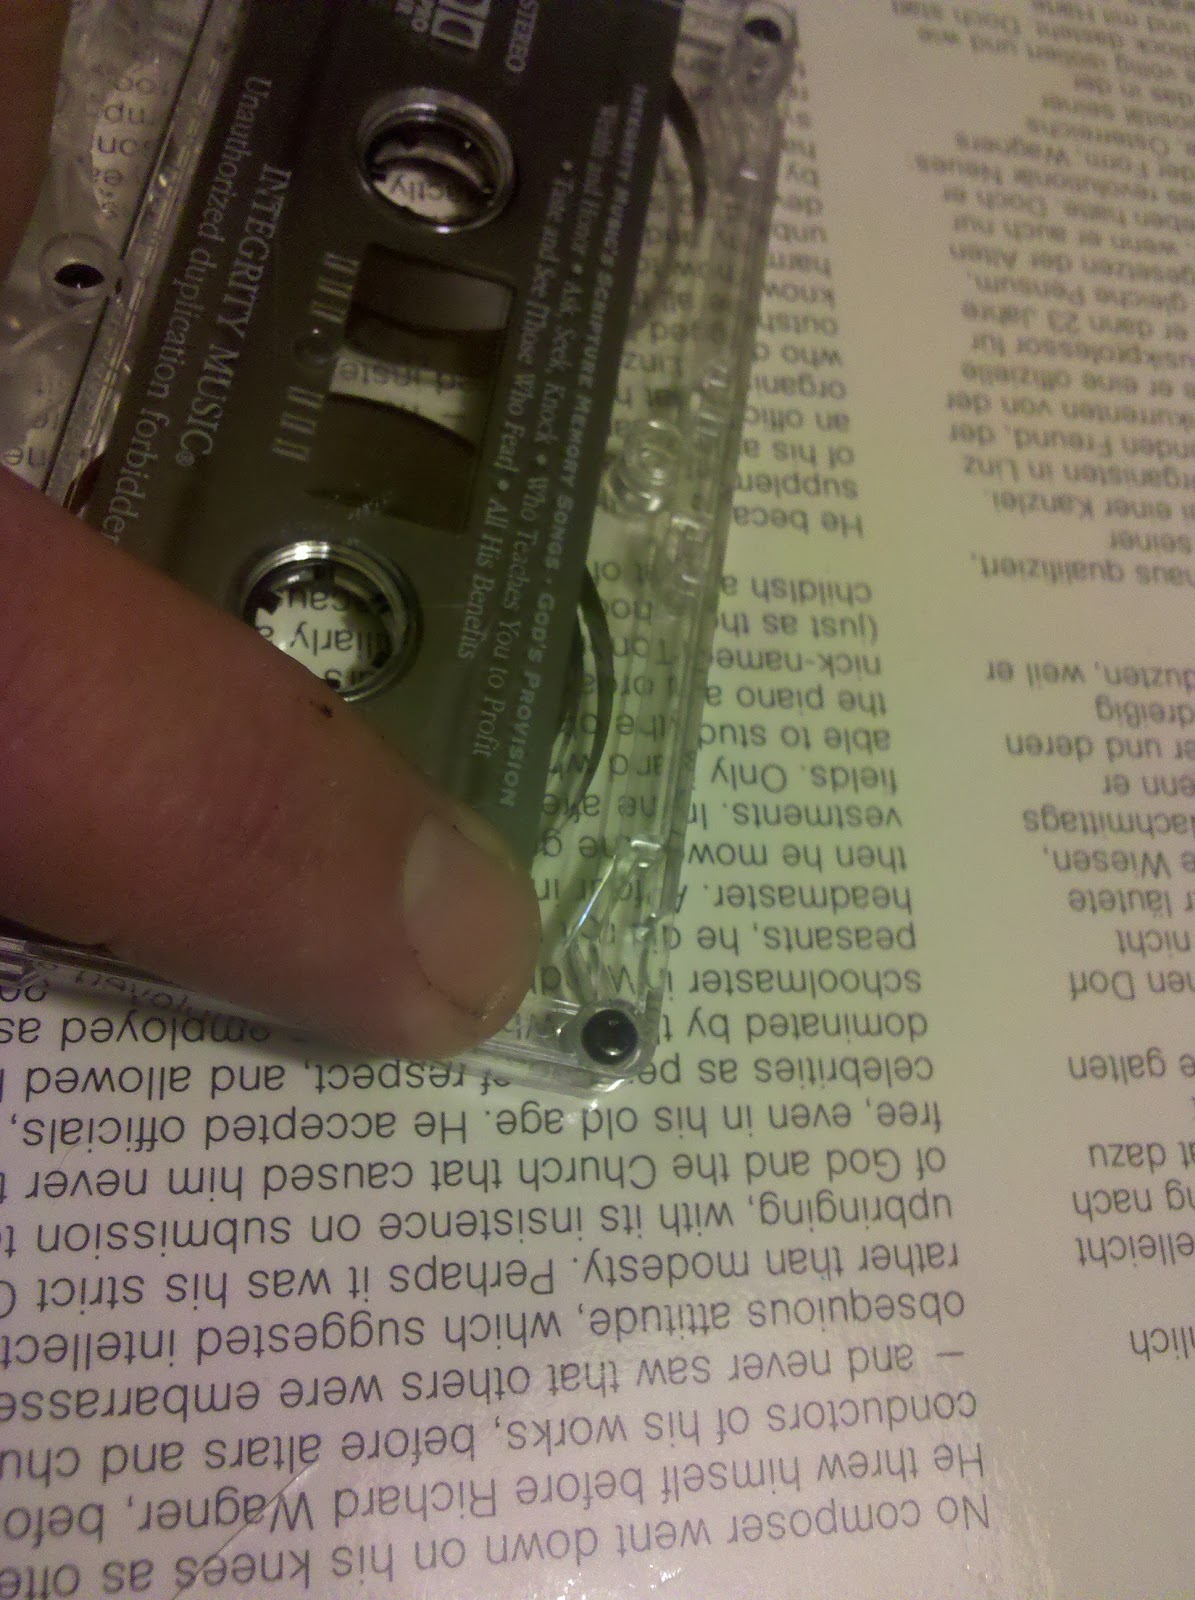
Unscrew the cassette tape.

Carefully remove the cover.

Remove the black film.


Replace the cover.

Flip over and carefully remove the cover.

Take out black film.

Reattach cover.

Flip over and put the screws back in.

Do this for all the cassette tapes you have.

Once you have all the film removed and the cassettes back together, it is time to build a box.
At the top of one cassette tape, add a line of strong glue.

Now stack another cassette tape on top.


Make sure the edges are all lined up. We stuck ours in between two Epsom salt containers (it was the only things we had that were tall enough) to help keep them straight while the glue set.

We used 16 cassette tapes. This will give you 8 stacks of 2 cassette tapes glued together.
Once they are all dried, take two the the stacks....

...and glue them together.

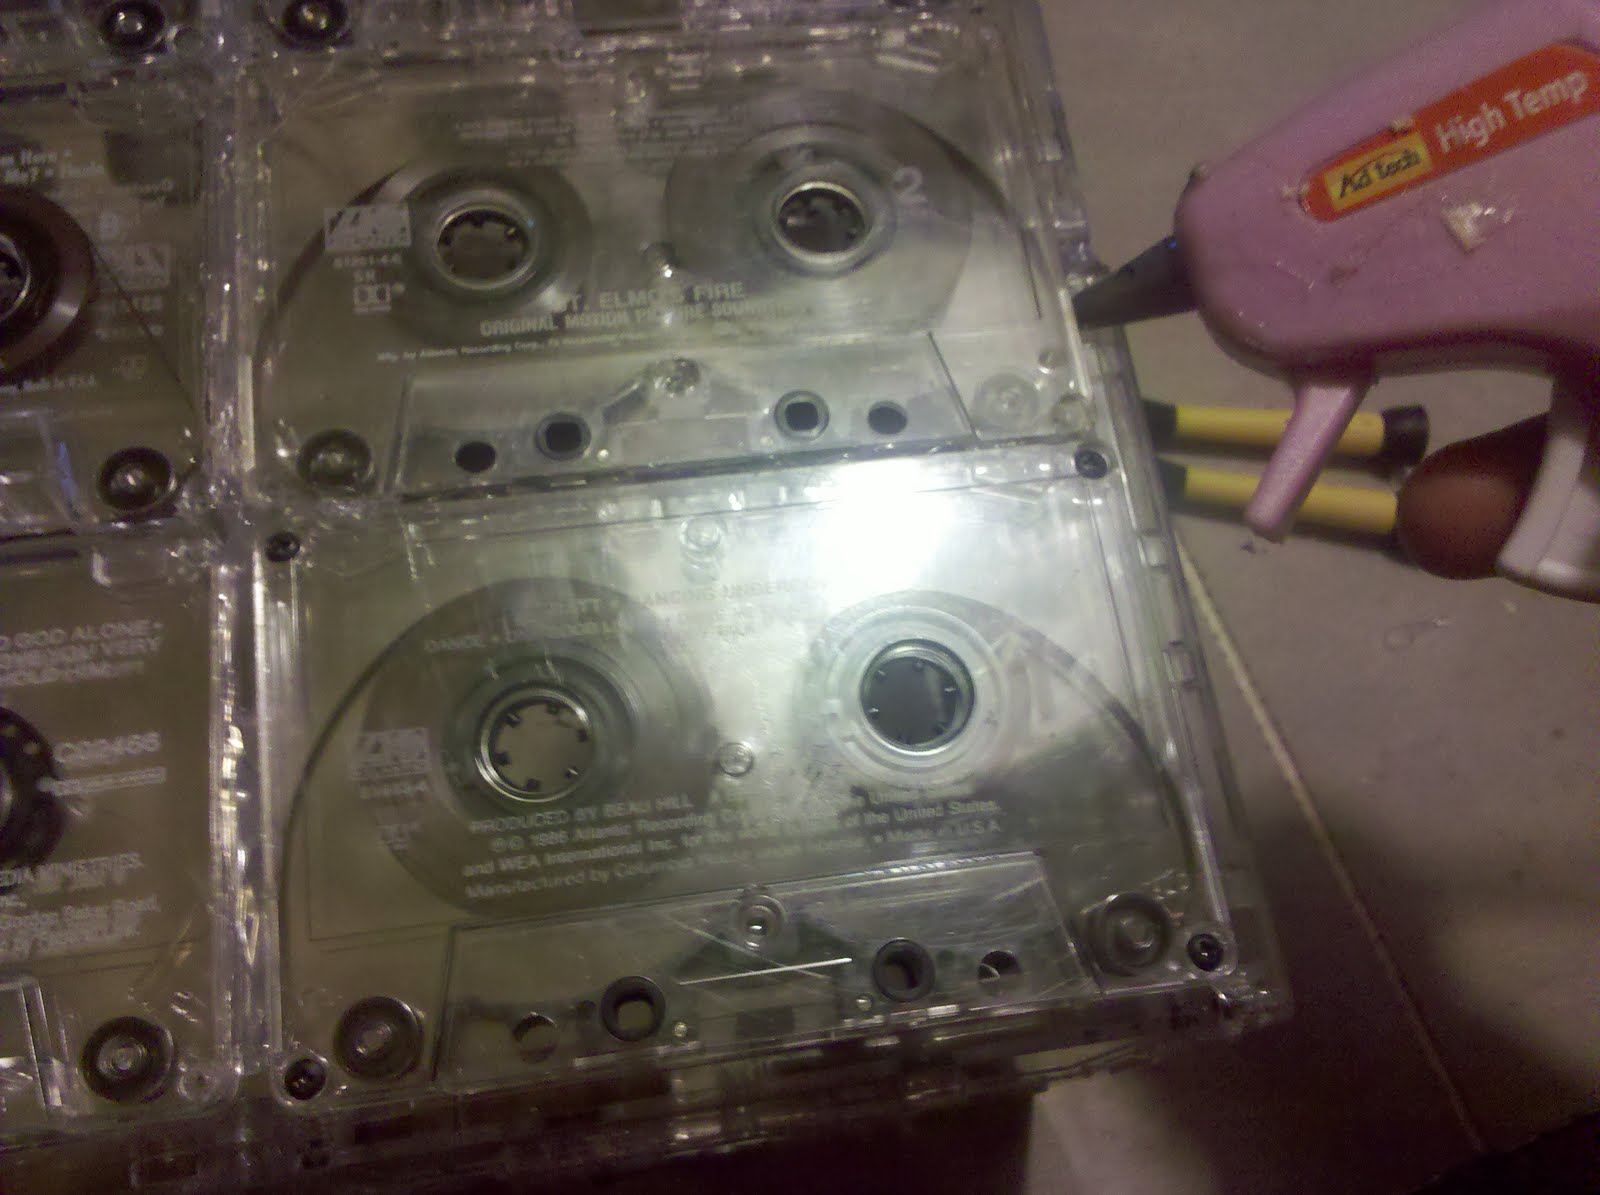
To glue these two stacks together we switched to hot glue. The reason we switched? We didn't realize it until this point that our strong glue had a yellow tint to it. This wasn't a big deal when we glued the tapes on top of each other, you didn't see the glue. However none of the tapes have sharp or squared corners, the corners are all rounded. When you put the two stacks together you get a small sort of diamond shape in the middle where all four cassettes meet. Also on the sides of each cassette there are these little....I guess for a lack of a better word....nubs on them. So when you line up the cassettes together there is a small, but noticeable, gap. We didn't want to have dried yellow glue showing between the cassettes. So we switched.
Glue the cassettes together.


Repeat, until you have 4 sets of 4 cassette tapes glued together. These 4 sets will be the walls of the box.

(I am holding this up in front of our dinning room lamp to get an idea of what this will look like)

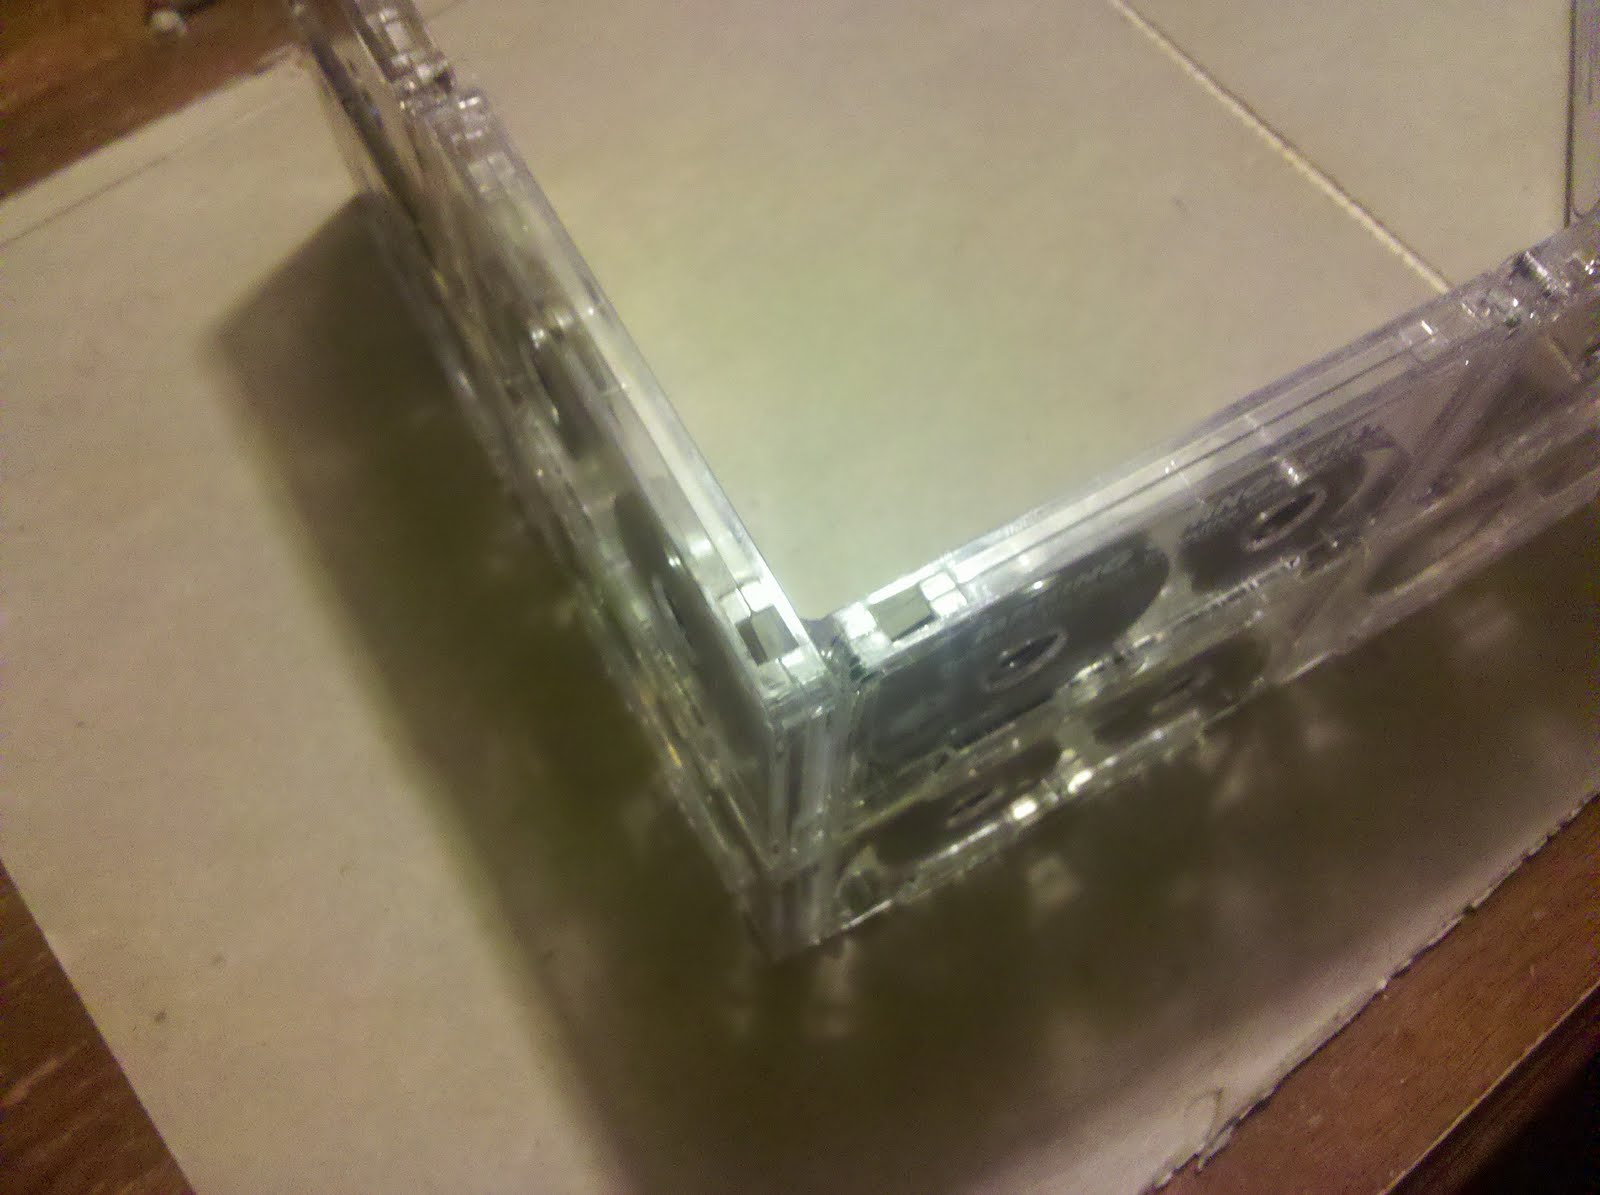
Now time to build the box. Take two of the walls and glue them together at a 90 degree angle.

Repeat this until you have a square.


Now it is time to build the cover.
Take the last six cassette tapes, and glue them in 2 stacks 3 cassettes tapes high.

Hot glue these two stacks together.


Then add it to the top of your box.....

....and glue it down. (Don't forget to glue it on the inside too.)

Now you should have a really cool cassette box.


You can stop here, put a small light inside of it and set it on a coffee table. However we want to hang ours on the ceiling of our entry way.
This proved to be a bit of a challenge. We first thought about using the skeleton of a square lamp shade, but this idea failed every which way. So after a pot of coffee, some wonder twins brainstorming and a little trial and error, we came up with an idea that worked.
First we took the whole light out of the entry way. Then with needle nose pliers cut a wire clothes hanger apart into three straight pieces around 8 inch in length.

The base of the light fixture has three screw holes in it. This is where the screws held up the glass bowl that covers the light.
We took the three pieces of coat hanger and stuck them in one hole, each wire over lapping the next.

Once the hangers are in place turn the base over and place it over the open part of the cassette box. Then with a pair of needle nose pliers bend the each of the wires until they fit into the small holes on one of the cassette tapes. ( In the first picture below (on the left side) you can see the hanger is going through the little hole of a cassette tape.) This took a little time to get the light as close to center as possible.


Once you have the light where you want it, trim up the hangers so nothing is sticking out. Make a small mark on the cassette above each hole where the hanger goes through. This will help to remember which hole each hanger goes into later.
Remove the light fixture, turn it back over and add a little glue where the hangers touch each other and a little at the holes where the hangers were inserted.
Reattach the light fixture to the ceiling.

Attach the new light cover.


AWESOME or what?!?!
This will make a great conversation piece when you have people over!
http://wemakecoolthings.blogspot.gr
Δημοσίευση σχολίου